
News & Articles

FIVE PRODUCT PHOTOGRAPHY TIPS
Don’t let poor images ruin your chance of being nominated or awarded for Gift of the Year, or your products picked by buyers and retilers. Here’s five tips on how to improve your photography.
1 How to Light YourWork.
There are very few applications for on-camera flash, they’re simply too direct and too harsh. Natural light is best and if you use a table or surface placed next to a large window it saves on investing in any lighting equipment.
It also provides a beautifully soft appearance to your products. If you're using sunlight, photograph at the same time of day to achieve consistent lighting. It’s worth bearing in mind that windows will differ in the amount of appropriate illumination they can provide, mainly due to their orientation. It’s best to use a North facing window, just like an artist would for the most diffused and continual soft light. Not everyone will have access to that, but you can easily diffuse the light by placing a diffusion material across the window. You could use tracing paper, a voile, or a white bed sheet.
When lighting with window light, there will be a bright side where the light is striking the product and a shadow side. This shadow side will typically be too dark and use a piece of white card of foam board, to reflect the light back into the shadows.
2 Check Your White Balance.
Colour temperatures change throughout theday and with different lighting sources. We don’t notice this as our eyesadjust automatically but a camera doesn’t always get it right. Setting thewhite balance correctly will ensure that all colours are correct and appearwithout any distracting colour cast.
If you are using natural light, ensure thatany other lighting is switched off. If you have lamps or fluorescent lightingin the scene, the mixed colour temperatures will show up in the image. It willalso make it very difficult to select the correct white balance.
By removing other light sources from the scene it will also make it more likely that your camera can select the correct white balance straight away. All cameras will let you adjust the white balance settings. You will most likely have to switch to manual mode, what you want is for white and grey areas to appear correctly. If they’re too cold or too warm the image will look amateurish. If your camera only allows presets for the white balance use the cloudy or sunlight setting.

3 Getting a Sharp Image.
Whilst some images can be taken while handholding the camera, a tripod is essential for most. By using a tripod you canensure that the camera is focussed upon your product, and then you can use thebuilt-in self timer to take the image. Even when the camera is fitted to atripod, the movement when pressing the shutter button can still affectsharpness so don’t forget to use the self timer, or even better a shutter releasecable.
Don’t rely on the small screen on the back of the camera, check images on alarger screen. Sometimes subtle blur isn’t noticeable until you get it on alarger screen. Inexpensive tripods can be easily obtained and will greatlyimprove the sharpness of your product images.
In some scenes automatic focus can struggle to accurately recognise the focus point you require, similarly manually focusing can sometimes be difficult if there isn’t an area of high contrast for you to focus on. In these situations, it can be useful to have something else to focus upon and place in the scene. Something like a barcode printed out would be ideal and can be quickly placed by the side of your product before being moved out of shot.

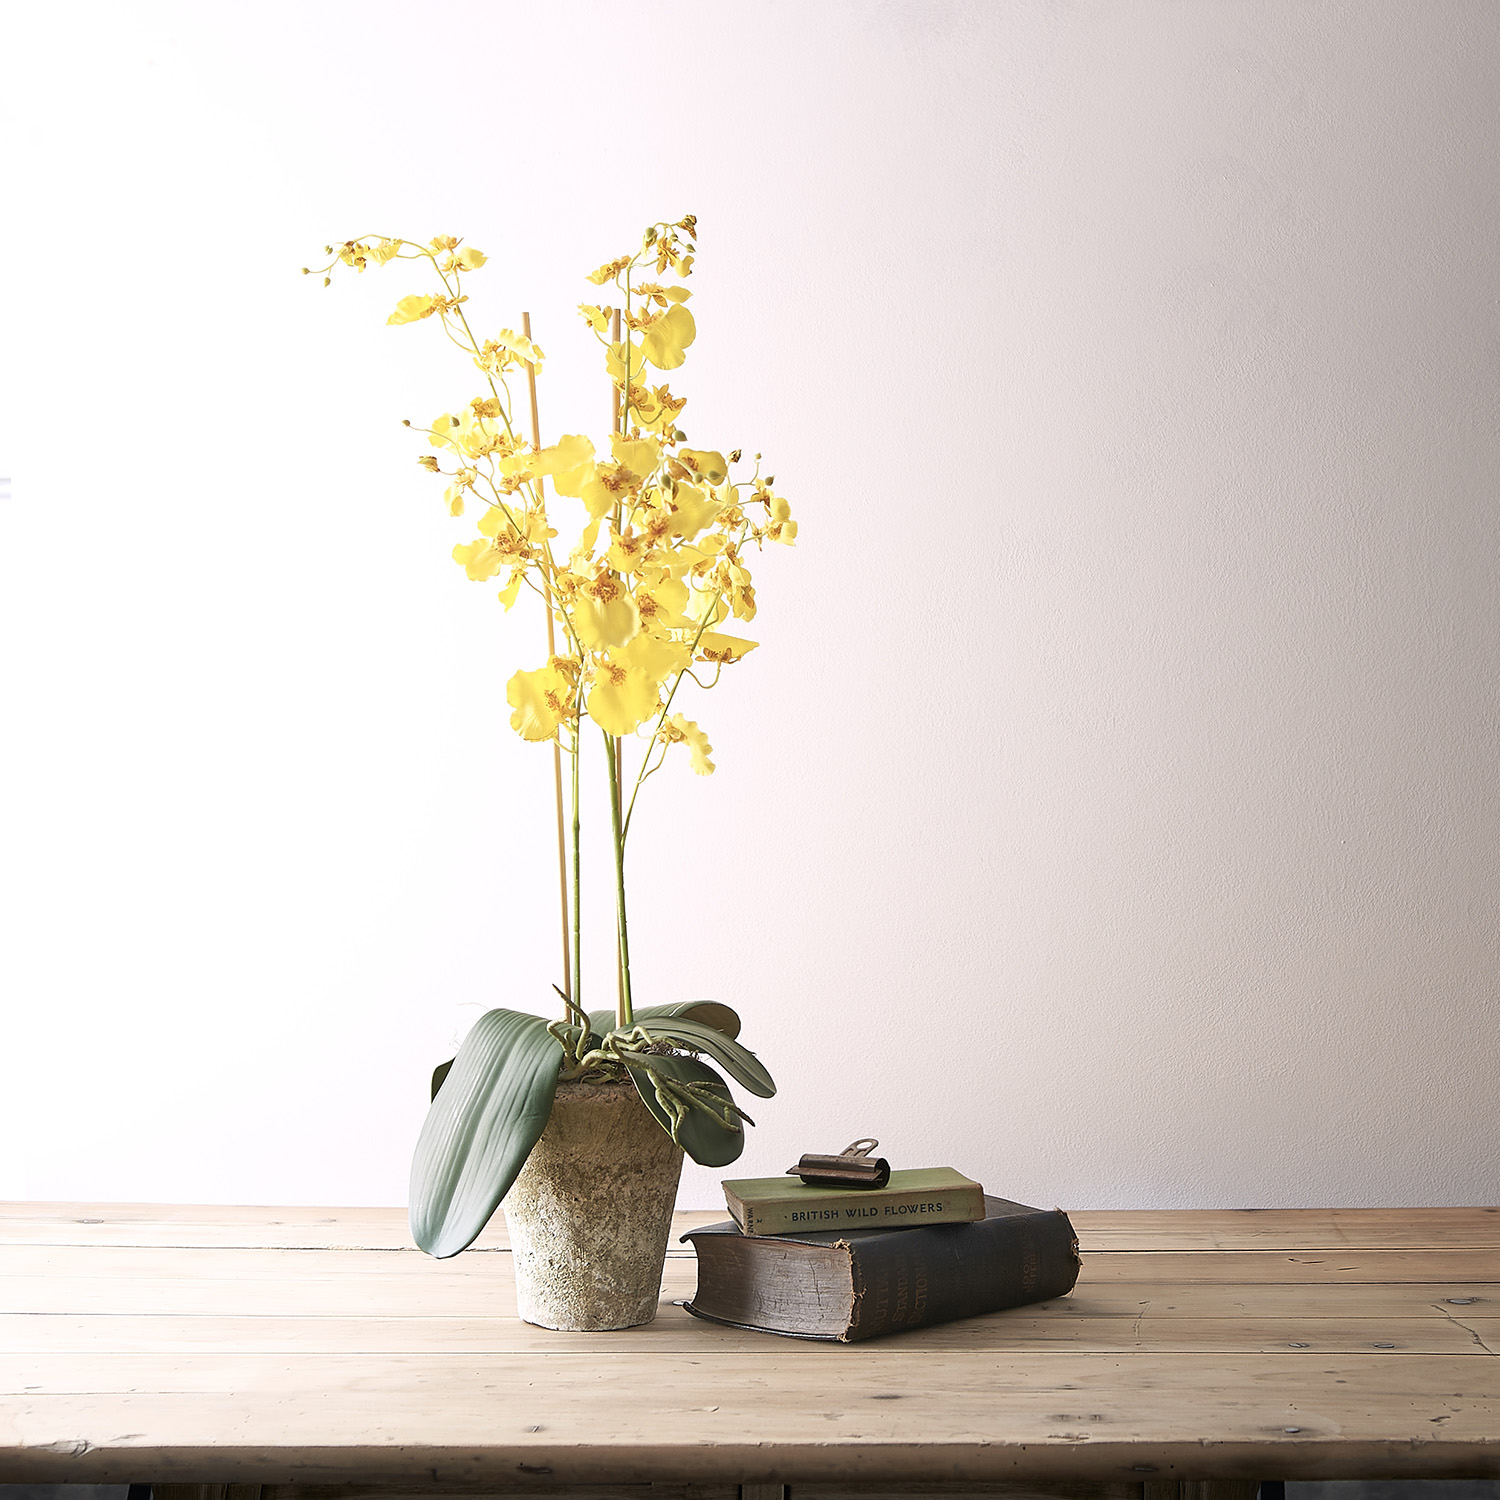
4 Positioning and CameraAngles / Composition
When you’re setting up your images, keepyour camera angles standardised. Shoot straight-on to your product, don’t useoblique angles as they can be distracting.
When you’re positioning your product withinthe frame, asymmetry works well, as does making use of the rule of thirds. Ifyou’re composing a shot where the background is out of focus positioning theproduct centre frame can work well, but otherwise asymmetry works as it looks alittle more natural and less staged.
Think about showing the best elements of your product and consider which are the most important elements/sides to your product. Experiment with this and consider which side you put in the shade and which in the light or highlight.
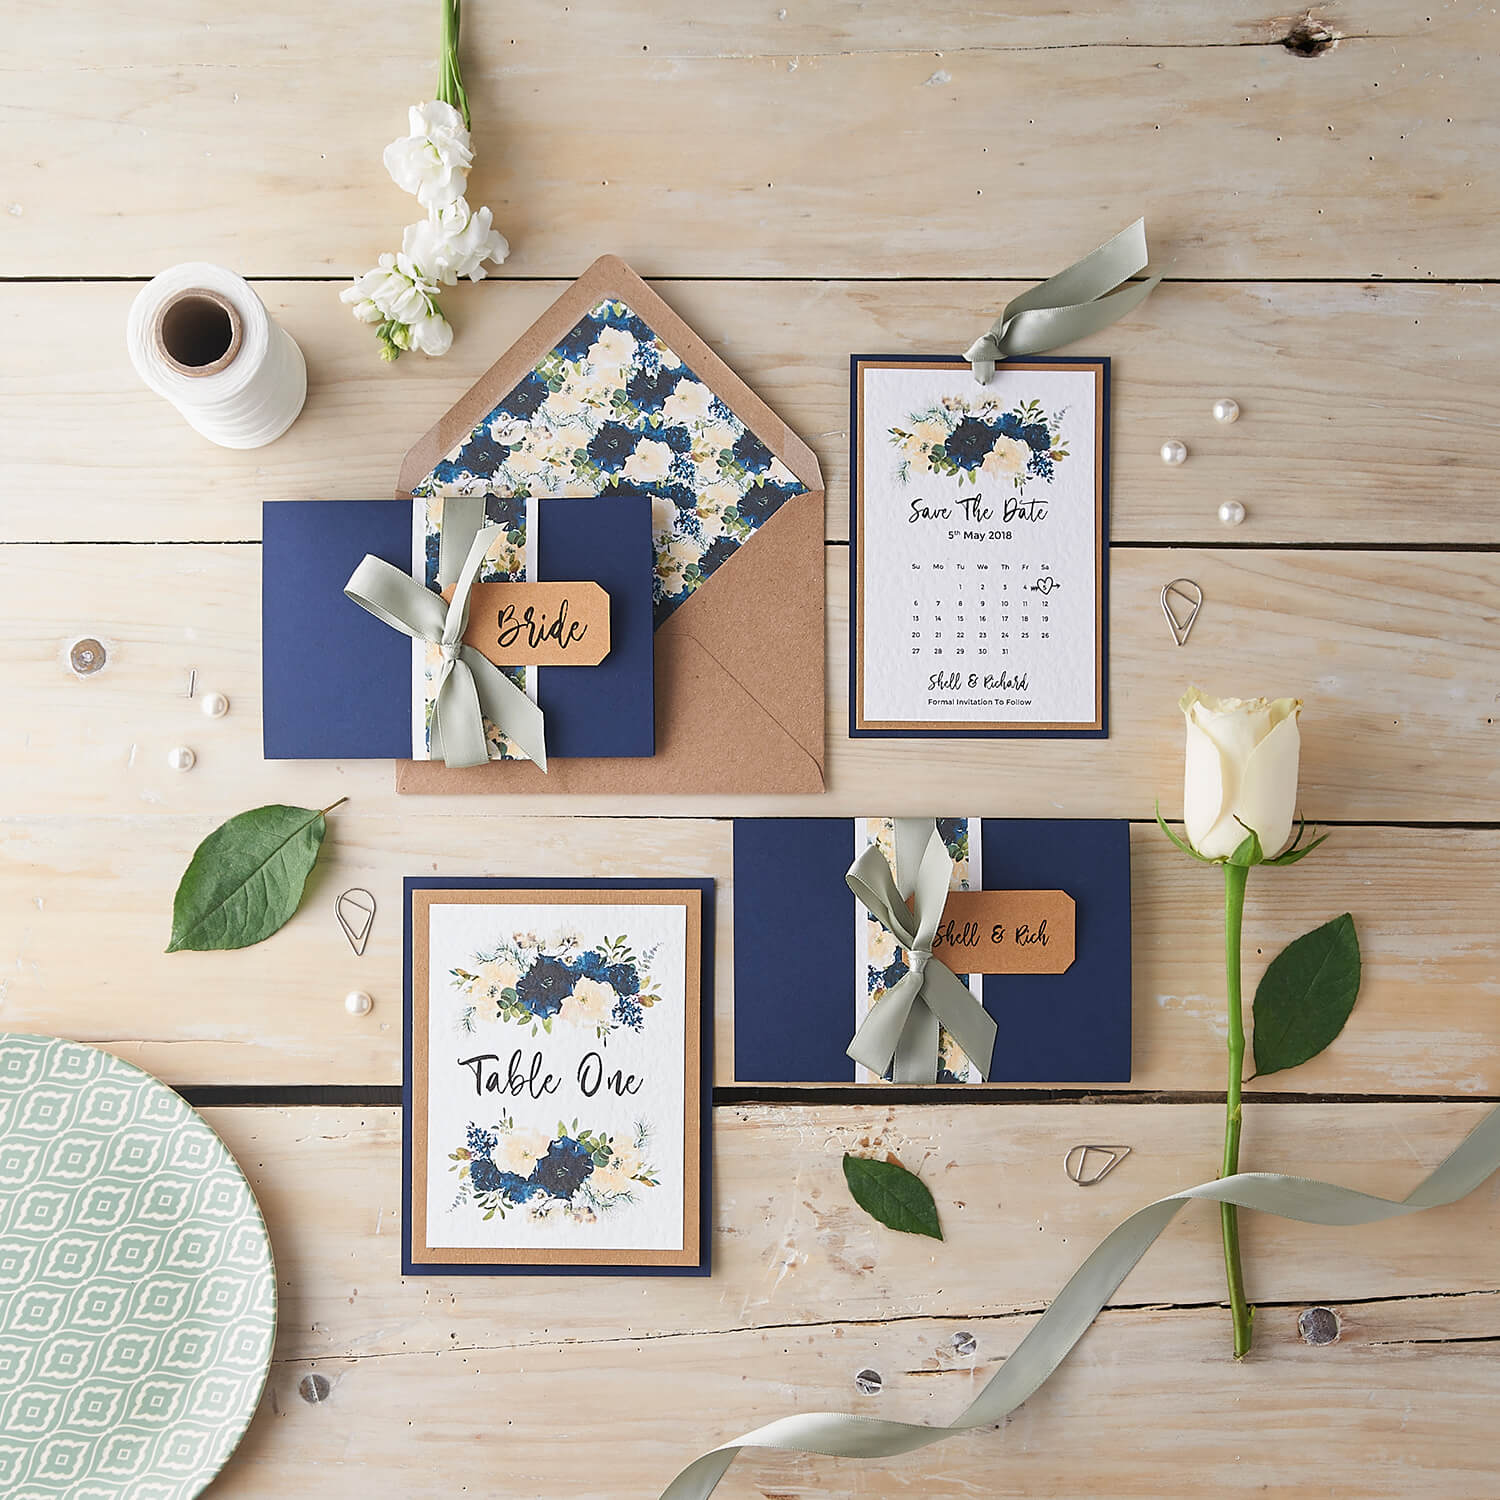
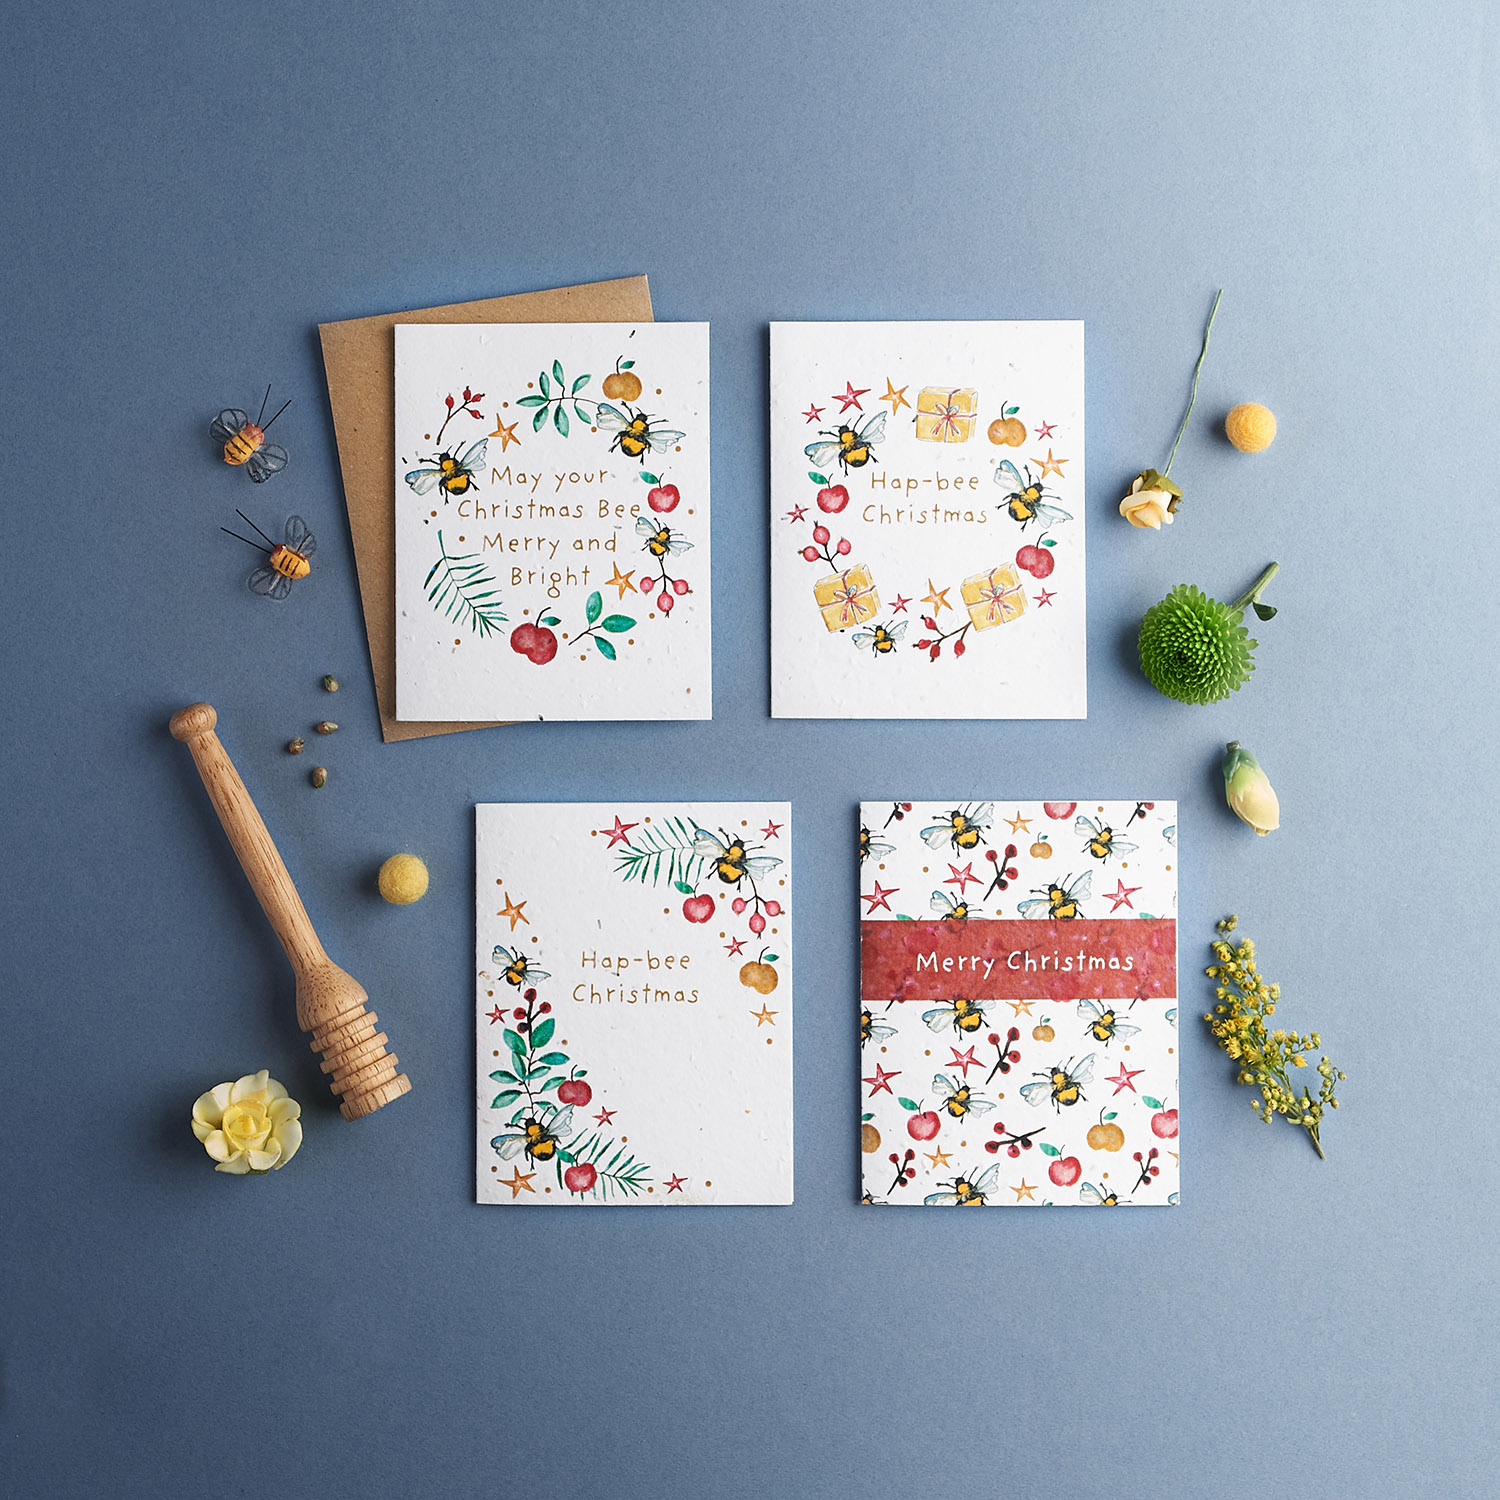
5Create a Story
It’s not always essential to create a story in your photograph, but it is apowerful way of relaying information about the product, what it’s for and whereit will reside. All to get your customer thinking about why they would like topurchase your product. Place the product within a context, to help the customervisualise it in its natural environment.
Thinkingabout the ideas behind your product, and the context that it would be used in,will help dictate how it will be photographed. You don’t have to overlycreative here, just a few cues about where the product will reside will beenough. For example is it in their home or in other aspects of their life?
While you’re doing this don’t forget that your image needs to accurately describe the product and convey its tangible elements. It’s about communicating the feel of the product, does it have a smooth or course texture, is it glossy or matte?

Richard Jackson, runs the Forever Creative Photography studio. Working with brands, creatives and designer-makers across the UK he provides a very creative and convenient way for clients to get the images they need. Clients simply send their products off and the Forever Creative studio has a choice of backdrops, props and furniture to create unique images.
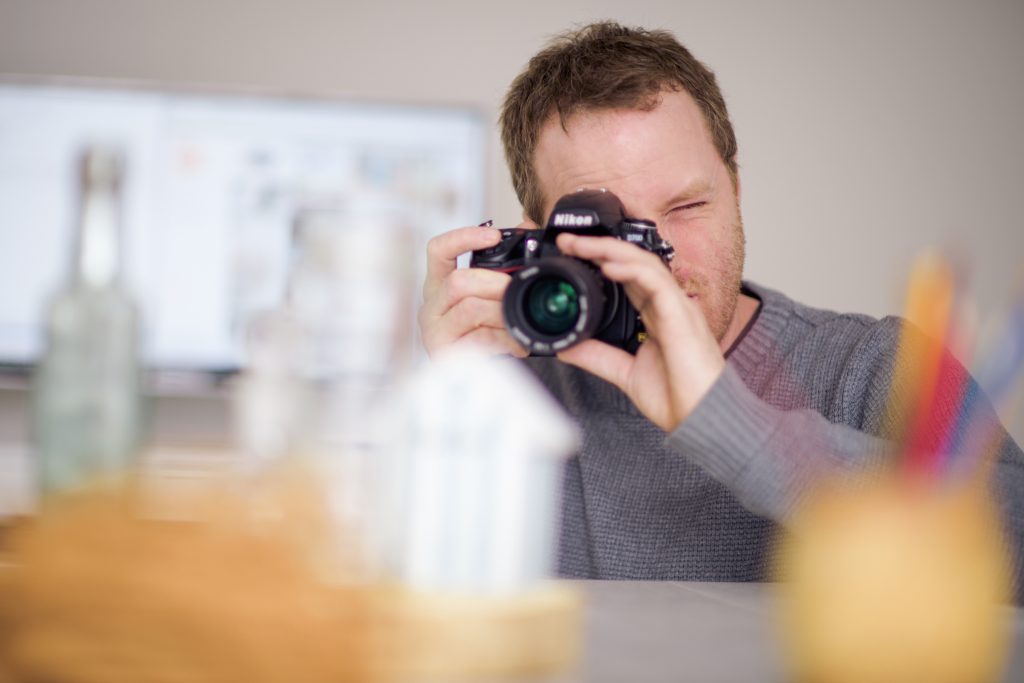
Lots more productphotography tutorials on the forever creative photography blog
Instagram -@forevercreativephotography